| Table of Contents | ||||||
|---|---|---|---|---|---|---|
|
...
In the depicted below image, you will get a filter of the Jobs Job details job status, and different types of tasks, and add the scheduler Name.
...
The status of the report schedulers is now part of the jobs, It explains why an email is not sent or some reports did not get generated.
...
Under the column, these are options available for jobs like created, updated, Job Status, job id, Agent Name, and Task.
...
To view the details of the Report scheduler Scheduler click on Details.
Here can see the details of the Report Scheduler with Report Name, Report Type, Reason, and Status.
...
Under the Action column, these are options available Details, Terminate, Retry, and Download Report.
If the job fails, click on the retry option to reschedule re run it.
In case need to terminate the scheduled job can use the option to terminate.
Using the Download option can download the report, once the report job is successful.
At the moment, Standard report jobs that have been successfully or partially completed allow those generated reports to be downloaded using the available download report option.
...
Patch Jobs
As soon as the patch is initiated, these jobs are created under the Jobs > Patch Jobs table view.

Once the job is completed and the assets rescan is completed, the application shows as patched with the latest version.

When the patch is successfully updated, click on Action> Details to get the information on the applications which is patched.
...
If the Azure Active Directory Scan fails, in the note section click on the click here option for Azure Re-authentication. This click will initiate the re-authentication process for Azure Active Directory.
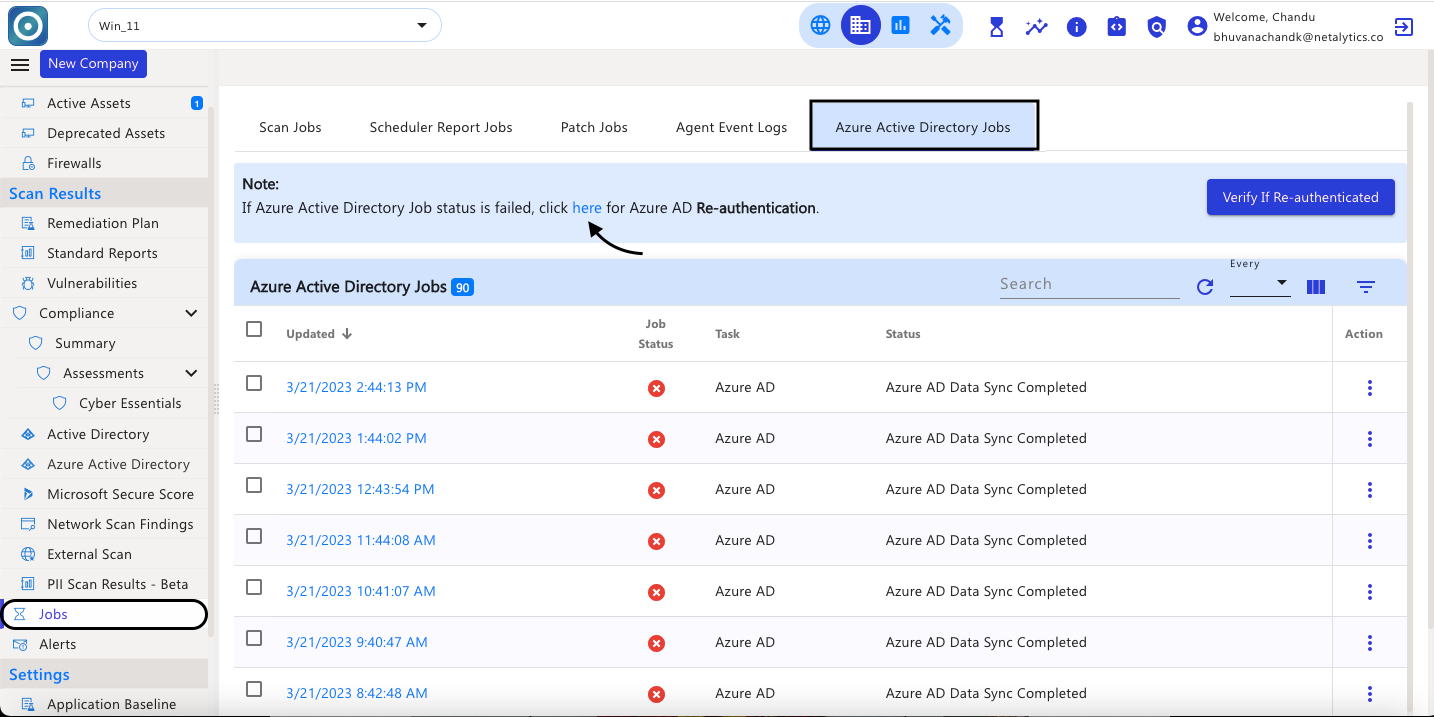
Now confirm whether the user has Global Admin access with valid permissions (If yes, select the checkbox and click on Next).
...
If the Azure Active Directory Scan fails, in the note section click on the click here option for Azure Re-authentication.
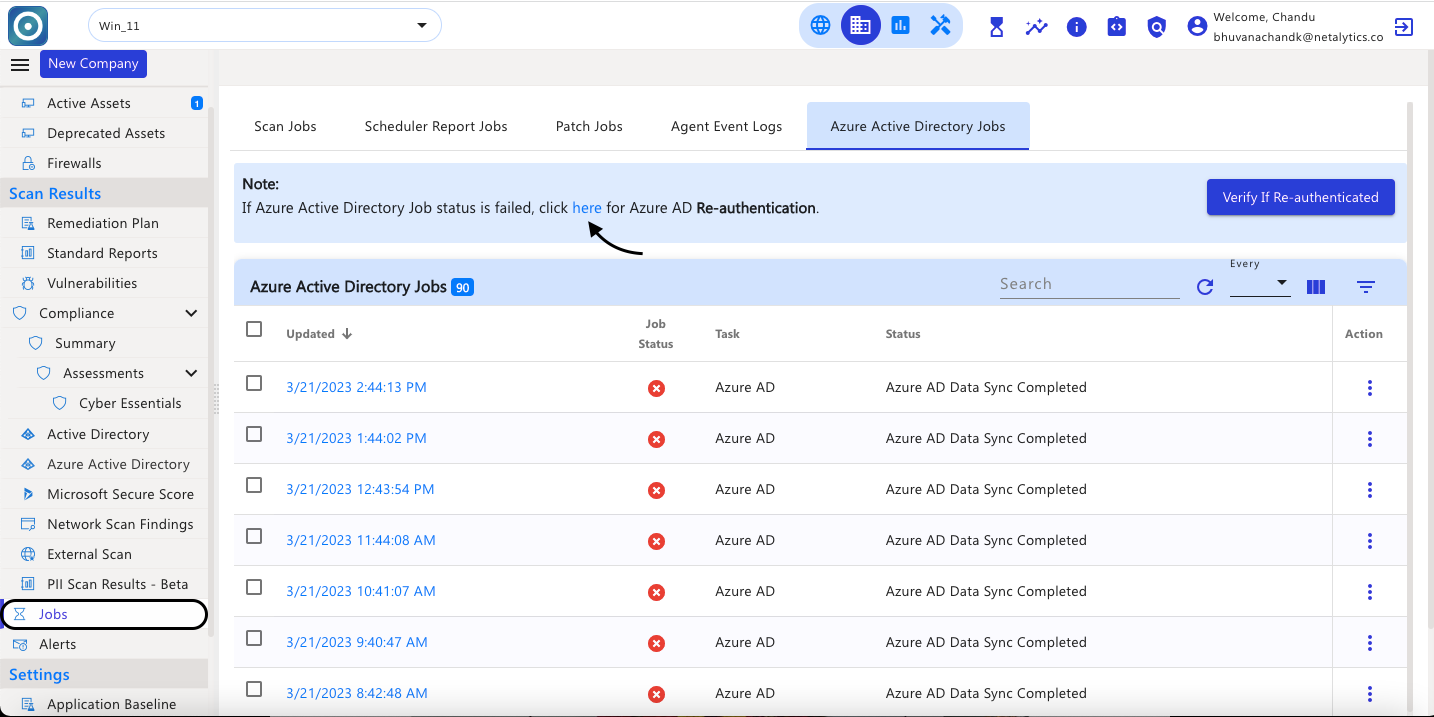
Now confirm whether the user has Global Admin access with valid permissions (If yes, select the checkbox and click on Next).
...
Step 1: stop agent services
net stop cybercnsagentmonitor
net stop cybercnsagentv2
Step 2: Navigate to the agent nmap folder and install npcap and VC_redist x86 manually.
C:\Program Files (x86)\CyberCNSAgentV2\nmap
Run the Npcap OEM executable
Run the VC_redist x86 executables
Step 3: on successful installation initiate a scan in the Cybercns portal.
...
Step 1: stop agent services
net stop cybercnsagentmonitor
net stop cybercnsagentv2
Step 2: Uninstall the npcap / pcap driver from the agent machine
...